Part 1: Create a Web Page
Setup
Accept the assignment on canvas. This will create a repository for you with a few starting files. The following directories are the only ones you're allowed to modify
.
├── resources
│   ├── images
│   │   └── .gitkeep
│   ├── scripts
│   │   └── index.js
│   └── styles
│       └── styles.css
├── index.html
└── README.md
Clone down the project to your computer.
Open the project in Visual Studio Code. a. make sure you select the root folder when opening the project. It will be named something like
1-online-portfolio-YOUR_USERNAME
Creating the Webpage
Where it says
<!-- include style files here-->, add a<link>with a reference to the styles sheet located inresources/styles/styles.css.Where it says
<!-- include script files here-->, add a<script>with a reference to the scripts file located inresources/scripts/index.js.update the HTML
<title>tag to be your name.Inside the body of the page, create an a container (
<div>).- ⚠️ Note: This container will enclose all of the page's content.
- set the class name to
container.
create an
<h1>that contains your name.add an image
<img>of yourself.make sure the image is placed in
resources/imagesand that you use relative path not the complete file path. I can't access files on your computer (DUH!).Do
<img src="resources/images/myphoto.jpg" />Don't do
<img src="C:/Users/wes/Desktop/OnlinePortfolio/resources/images/myphoto.jpg"/>
🚩 Make a git commit here
- the commit message needs to be meaningful. Example: "Initialize the page"
- If you're using the command line, the command would be:
git commit -m "initialized the page".
Create the following 5 sections. For each of them sections:
- make sure to wrap each section with a
<div>with a class name ofsectionand is assigned the respective id specified below - each section must be titled with
<h2>tags - 🚩 make a git commit at the end of each section created. i.e.
git commit -m "added Personal background section",git commit -m "added Work and Development Experience section"and so on ... - sections are:
- Personal background
- Containing
<div>has class ofsectionand id ofpersonalBackground - A paragraph tag
<p>or an un-numbered<ul>with some background info. - 🚩 make a git commit
git commit -m "added Personal background section".
- Containing
- Work and Development Experience
- containing
<div>has class ofsectionand id ofexperience - A numbered list tag
<ol>containing some of the roles and places you worked at. - 🚩 make a git commit.
- containing
- Programming Languages
- containing
<div>has class ofsectionand id ofprogrammingLanguages - A numbered list tag
<ol>containing the programming languages you know. - 🚩 make a git commit.
- containing
- Achievements
- containing
<div>has class ofsectionand id ofachievements - An un-numbered list tag
<ul>containing the some of the achievements you'd like to share. - 🚩 make a git commit.
- containing
- Favorite Games (or ones you’re currently playing)
- containing
<div>has class ofsectionand id ofgames - A paragraph tag
<p>or an un-numbered<ul>containing the the games you like to play. - 🚩 make a git commit.
- containing
- Personal background
- make sure to wrap each section with a
Style the webpage with some custom styles in
resources/styles/styles.cssusing classes, and IDs.- Bootstrap library is already included at the top of the HTML file. You're welcome to use its classes to style your page.
- 🚩 make a git commit once done with the styling or incrementally as you're making your changes.
Once you are finished, make sure you push all the changes to the repository.
- any thing looking like this or better is accepted. (With content of course)
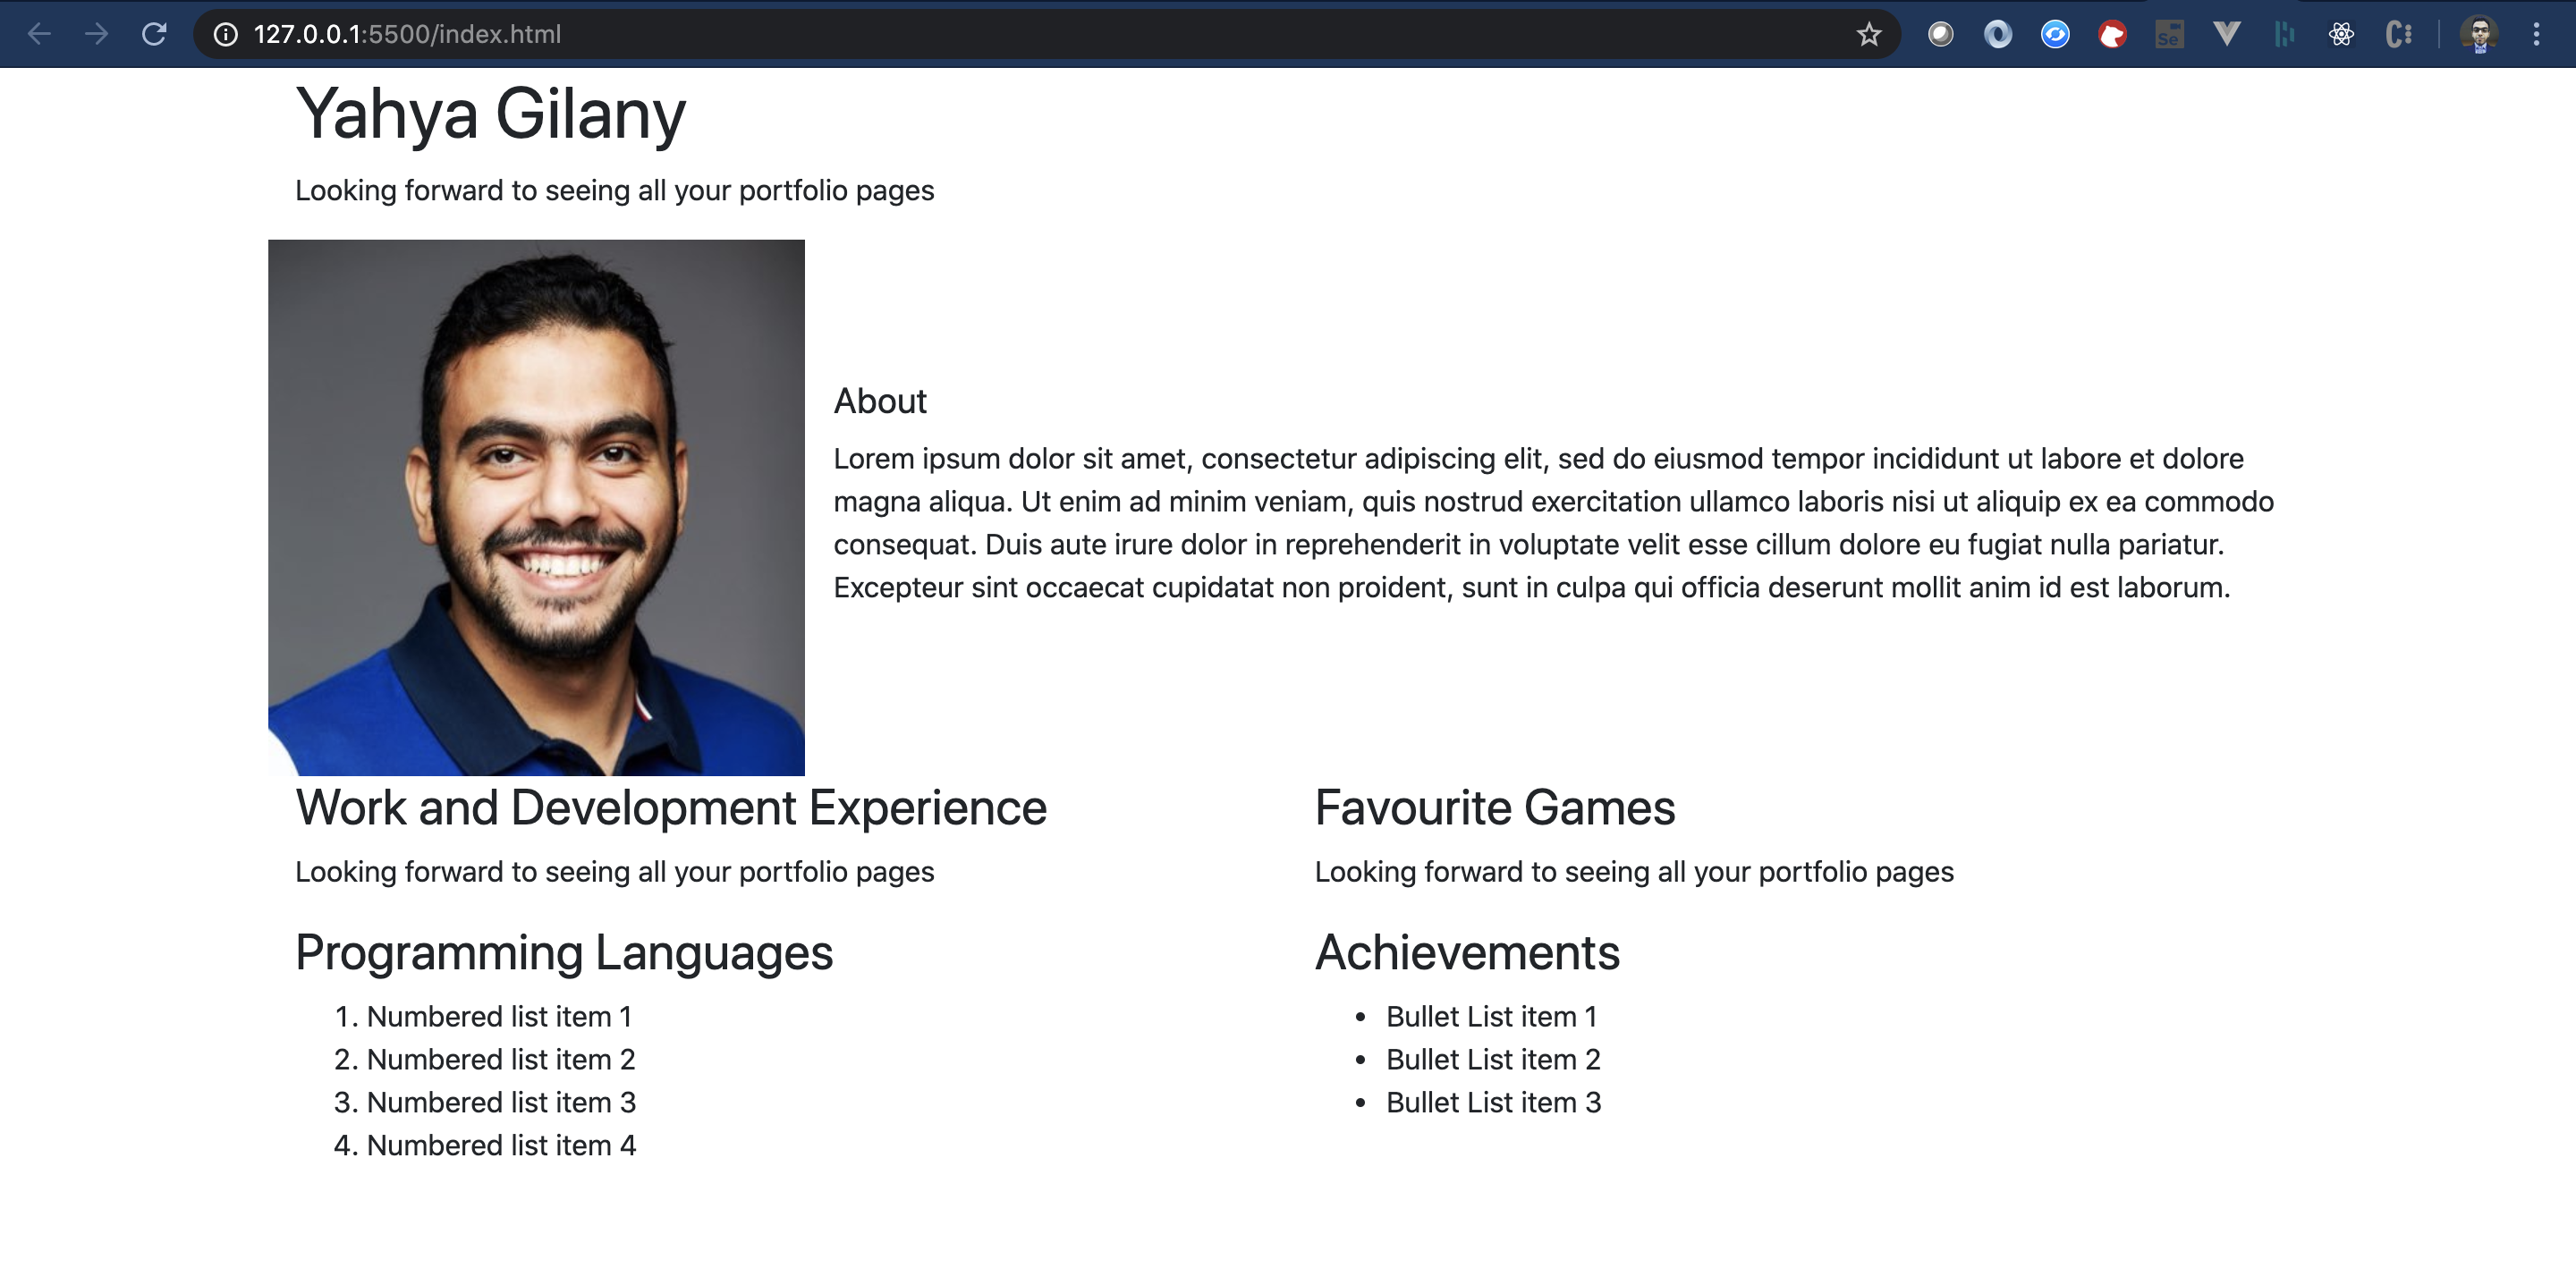
- any thing looking like this or better is accepted. (With content of course)
Run Auto-grader checks
If you followed the instructions properly, creating the different sections with the correct IDs, classes, and content types, you should pass the auto-grader checks.
- Open your preferred command line terminal (i.e. terminal, iTerm, bash, git bash, powershell, ... etc) and navigate to the project path.
- remember the
cdcommand from System Admin class. - Using Visual Studio Code you can simply open the integrated terminal (View > Terminal) which will automatically open up at the correct project path.
- remember the
- install project dependencies using the following command:
npm install - run the following command:
npm test. a suite of tests will run producing results similar to the following.
Setting up GitHub Pages for hosting
- Follow the following instructions to setup github pages and publish your page from
main.